The reason for this is that if something that is moving touches an electrical part, a wire for example, the thing that is moving can act like a knife and cut into the electrical part. In addition to damaging the elctrical part, the cut may allow electricity to flow into places where it is not intended to go and this may prevent proper operation of the system and might damage it. In extreme situations it might even start a fire or injure or kill a human being.
In the robot that you are about to build there are several sensors and actuators (specifically, motors) that use electricity and have wires that connect them to an embedded computer. There are also a number of moving parts.
It is important to remember that "moving" means moving with respect to one or more wires. Thus, if the robot itself is moving - travelling across the ground, for example - then the wires are also moving with respect to the ground. Further, if the robot is moving with respect to a wall or some other object, including another robot, then the wires are also moving with respect to that wall or other object.
You must be very careful to ensure that none of the wires can touch any of the moving part, whether inside the robot or outside of it.
The robot's design includes spaces through which wires can be routed - they are called "cableways" - such that the wires are protected, and you should take advantage of these cableways.
However, getting wires safely from the sensors and actuators to the cableways can be difficult and may require care, thought, and trial and error.
In addition to using cableways, you may also have to use cable ties to keep the wires in place. If you use cable ties, they may only be used to hold wires in place; they cannot in any way be structural, meaning that they cannot make anything stronger; they can only be used to prevent wires from moving to a place where they might get damaged.
Cableway
A cableway is a protected space within some machine, structure, or space within which electrical wires are run.
In most cases, for cableways within structures and spaces, laws, called building codes, have been enacted that severly restrict the way in which cableways may be used. Amongst other things, building codes place restrictins on the amount of heat generated by wires in cableways, the way that wires in cableways are joined together, the ways that wires enter and exit cableways, and the electrical voltages carried within a cableway.
Electrical voltages are typically classified as either "intrinsically safe" or "not intrinsically safe". Often 60 volts is used as the transition point. At or below 60 volts is considered intrinsically safe and above 60 volts is considered not intrinsically safe. Mixing intrinsically safe and not intrinsically safe wiring in the same cableway is usually considered hazardous and may be prohibited by building codes. Further, mixing wires of very different not intrinsically safe voltages, such as 200 volts and 400 volts, may be considered hazardous and may be prohibited.
In general few legal restrictions are placed on the use of cableways in machines and it then becomes the job of the machine designer to ensure that cableways are used safely.
In certain cases cableways in machines must meet industry standards and may be required to be approved by independant inspectors.
When cableways are not subject to restrictions, engineers must be very carefull to ensure that cableways cannot result in hazardous conditions; it may require considerable thought on the part of an engineer to ensure that a cableway is used safely.
For example, because an unwise mix of wires were routed through a single cableway, an electrical short circuit in a wire in an aircraft toilet resulted in an explosion in one of that aircraft's fuel tanks. That explosion destroyed the aircraft and killed everyone on board it.
Less deadly, but enormously damaging financially, both the Boeing Aircraft Company and Airbus misjudged the capacity of cableways in their Dreamliner and A380 aircraft resulting in multi-year delays and millions of dollars in extra costs.
A cableway, shown in the picture below, has been incorporated in the robot that you are about to build.
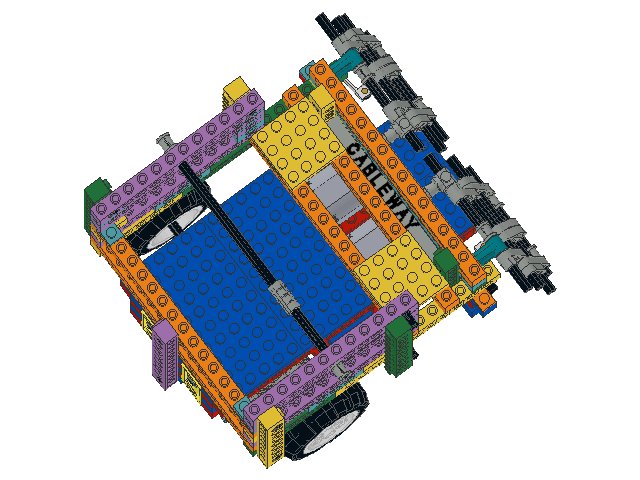
You should ensure that all of the robot's electrical wiring passes through this cableway on its way from the various sensors and actuators to the robot's embedded computer.
Cable Ties
A cable ties is a narrow strip of plastic that has a slot containing a pawl at one end and has raised striations, or ridges, along its length, as shown below.

The term "zip tie" is sometimes used instead of cable tie. It is important to understand that while zip ties and cable ties are sometimes identical, it may be the case that a zip tie is inferior to a cable tie with respect to its use in electrical engineering. Generally, if a zip tie is significantly cheaper than a cable tie, it may be unwise to use it in connection with electrical wiring.
In electrical engineering, the purpose of a cable tie is either to tie two or more electrical wire together in a bundle, or to tie one or more electrical wires to some form of mounting point, or both.
In the robot that you are about to build, cable ties are an effective way of controling the routing of wires so as to ensure that they cannot touch any moving part.
Consider the picture below.
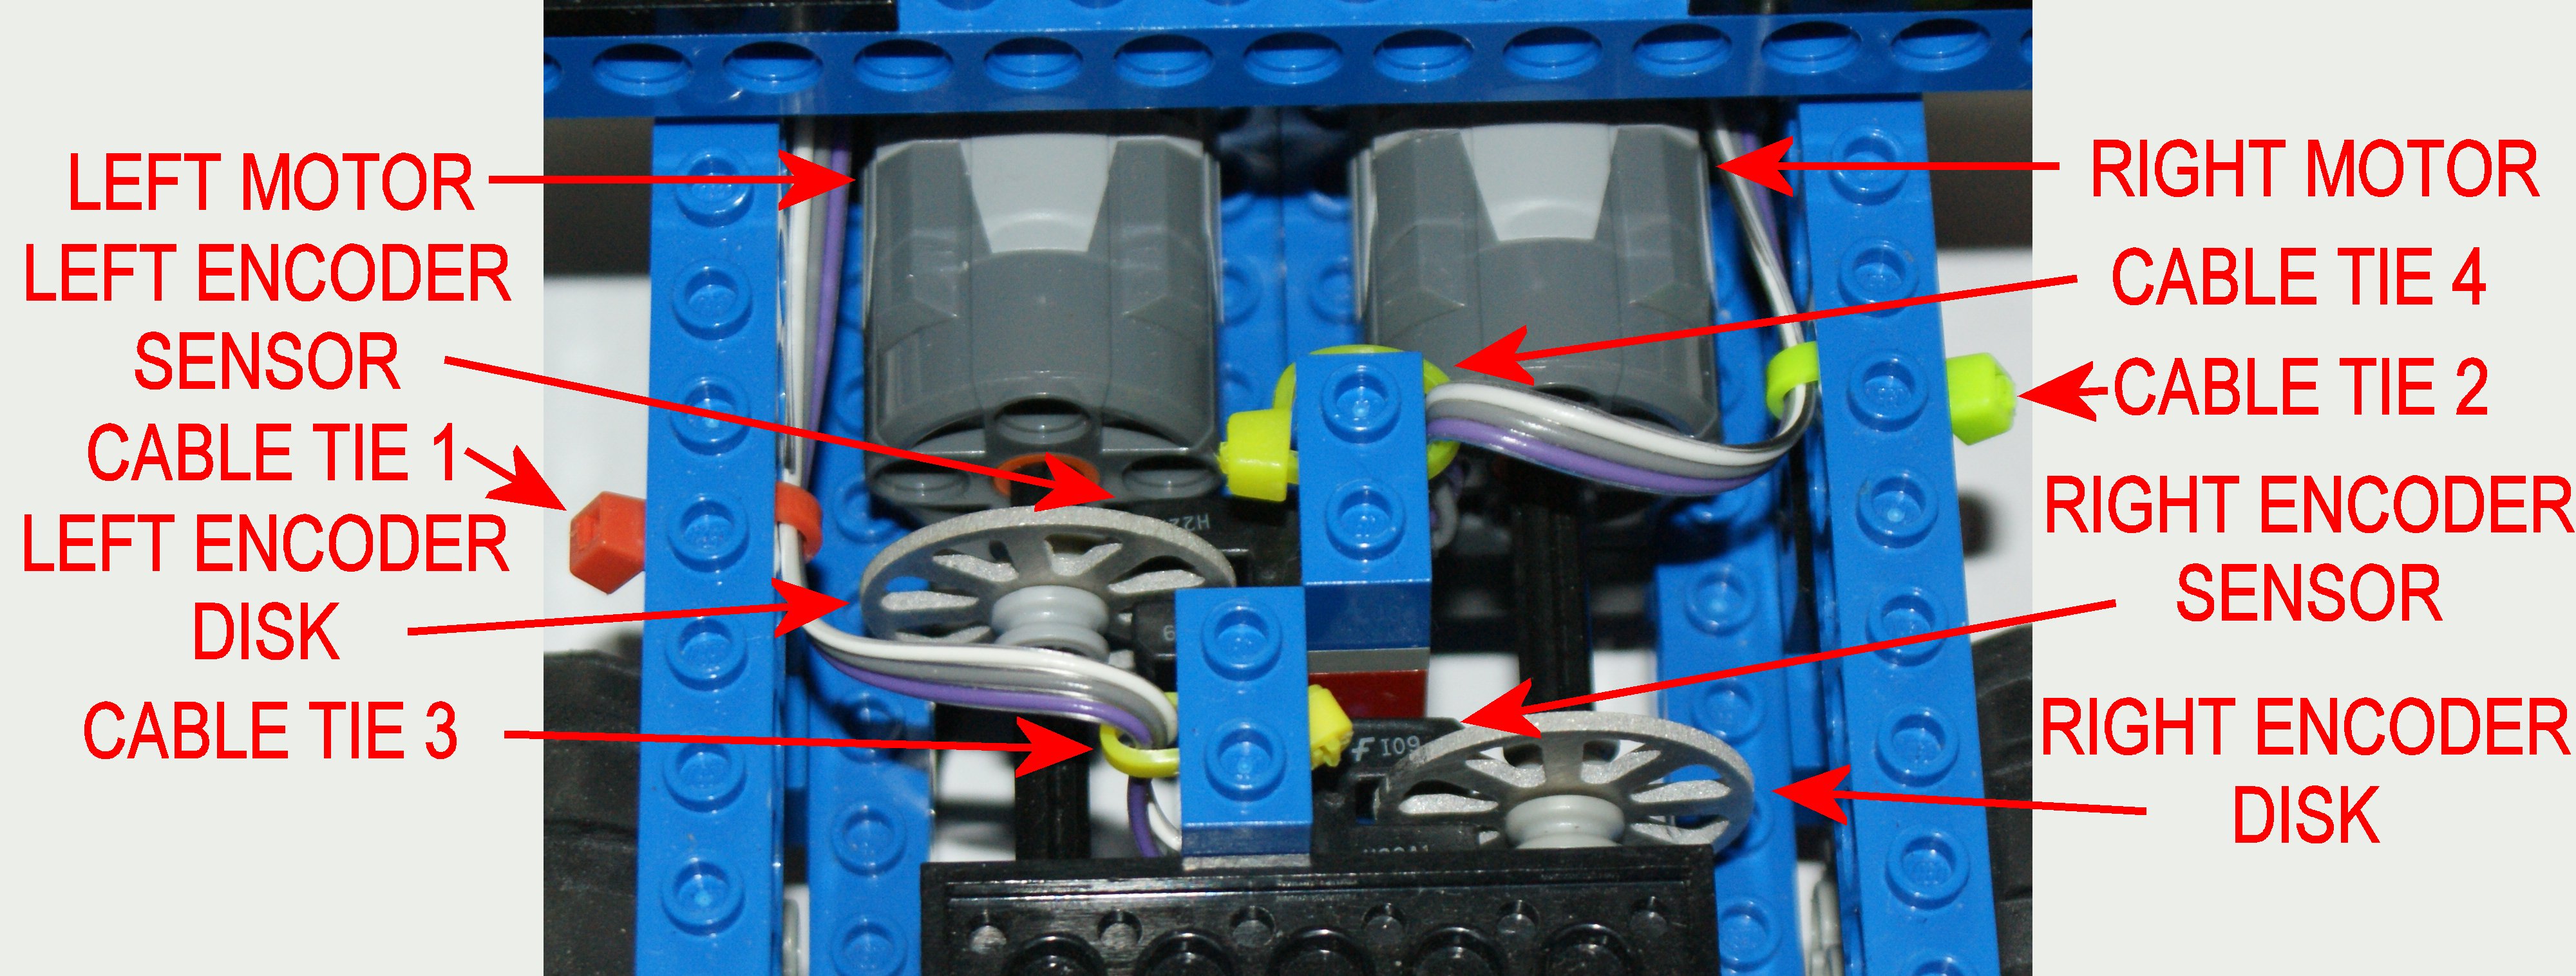
This picture shows part of the drive train of the robot that you are about to build.
Near the top, toward the middle are two motors. On the left, toward the middle, is an encoder disk. On the right, toward the bottom, is another encoder disk. At the bottom, hidden under the black Lego plate, are two gearboxes. Each gearbox is connected to a motor by a black Lego axle.
When a motor is powered on by software running on the robot's embedded computer, the axle turns, and, via a gearbox, a wheel turns.
Attached to each axle is a shaft encoder disk, which is made of metal.
If, while turning, the metal encoder disk touches a wire, it will cut into, or through, it.
In the center, under each 1 x 2 blue Technic beam, is a black shaft encoder sensor. Coming out of the back of each sensor is an electric cable that comprises three wires; one purple, one grey, and one white. It is these wires that must be kept away from the metal encoder disk.
Note the two yellow cable ties, identified in red as CABLE TIE 3 (on the left) and CABLE TIE 4 (on the right).
The purpose of these two cable ties is to keep wires from the sensor close to the 1 x beam and away from the axle as the wire travels upward.
Note the pink cable tie, identified in red as CABLE TIE 1 (on the left), and the green cable tie, identified in red as CABLE TIE 2 (on the right).
The purpose of these the cable ties is to hold the wires above the axles and away from the encoder disks.
Care and careful thought must be given to the routing of cable ties.
Note the way that cable tie 4 is routed, as shown in this simplified picture, around the side of the 1 x beam.
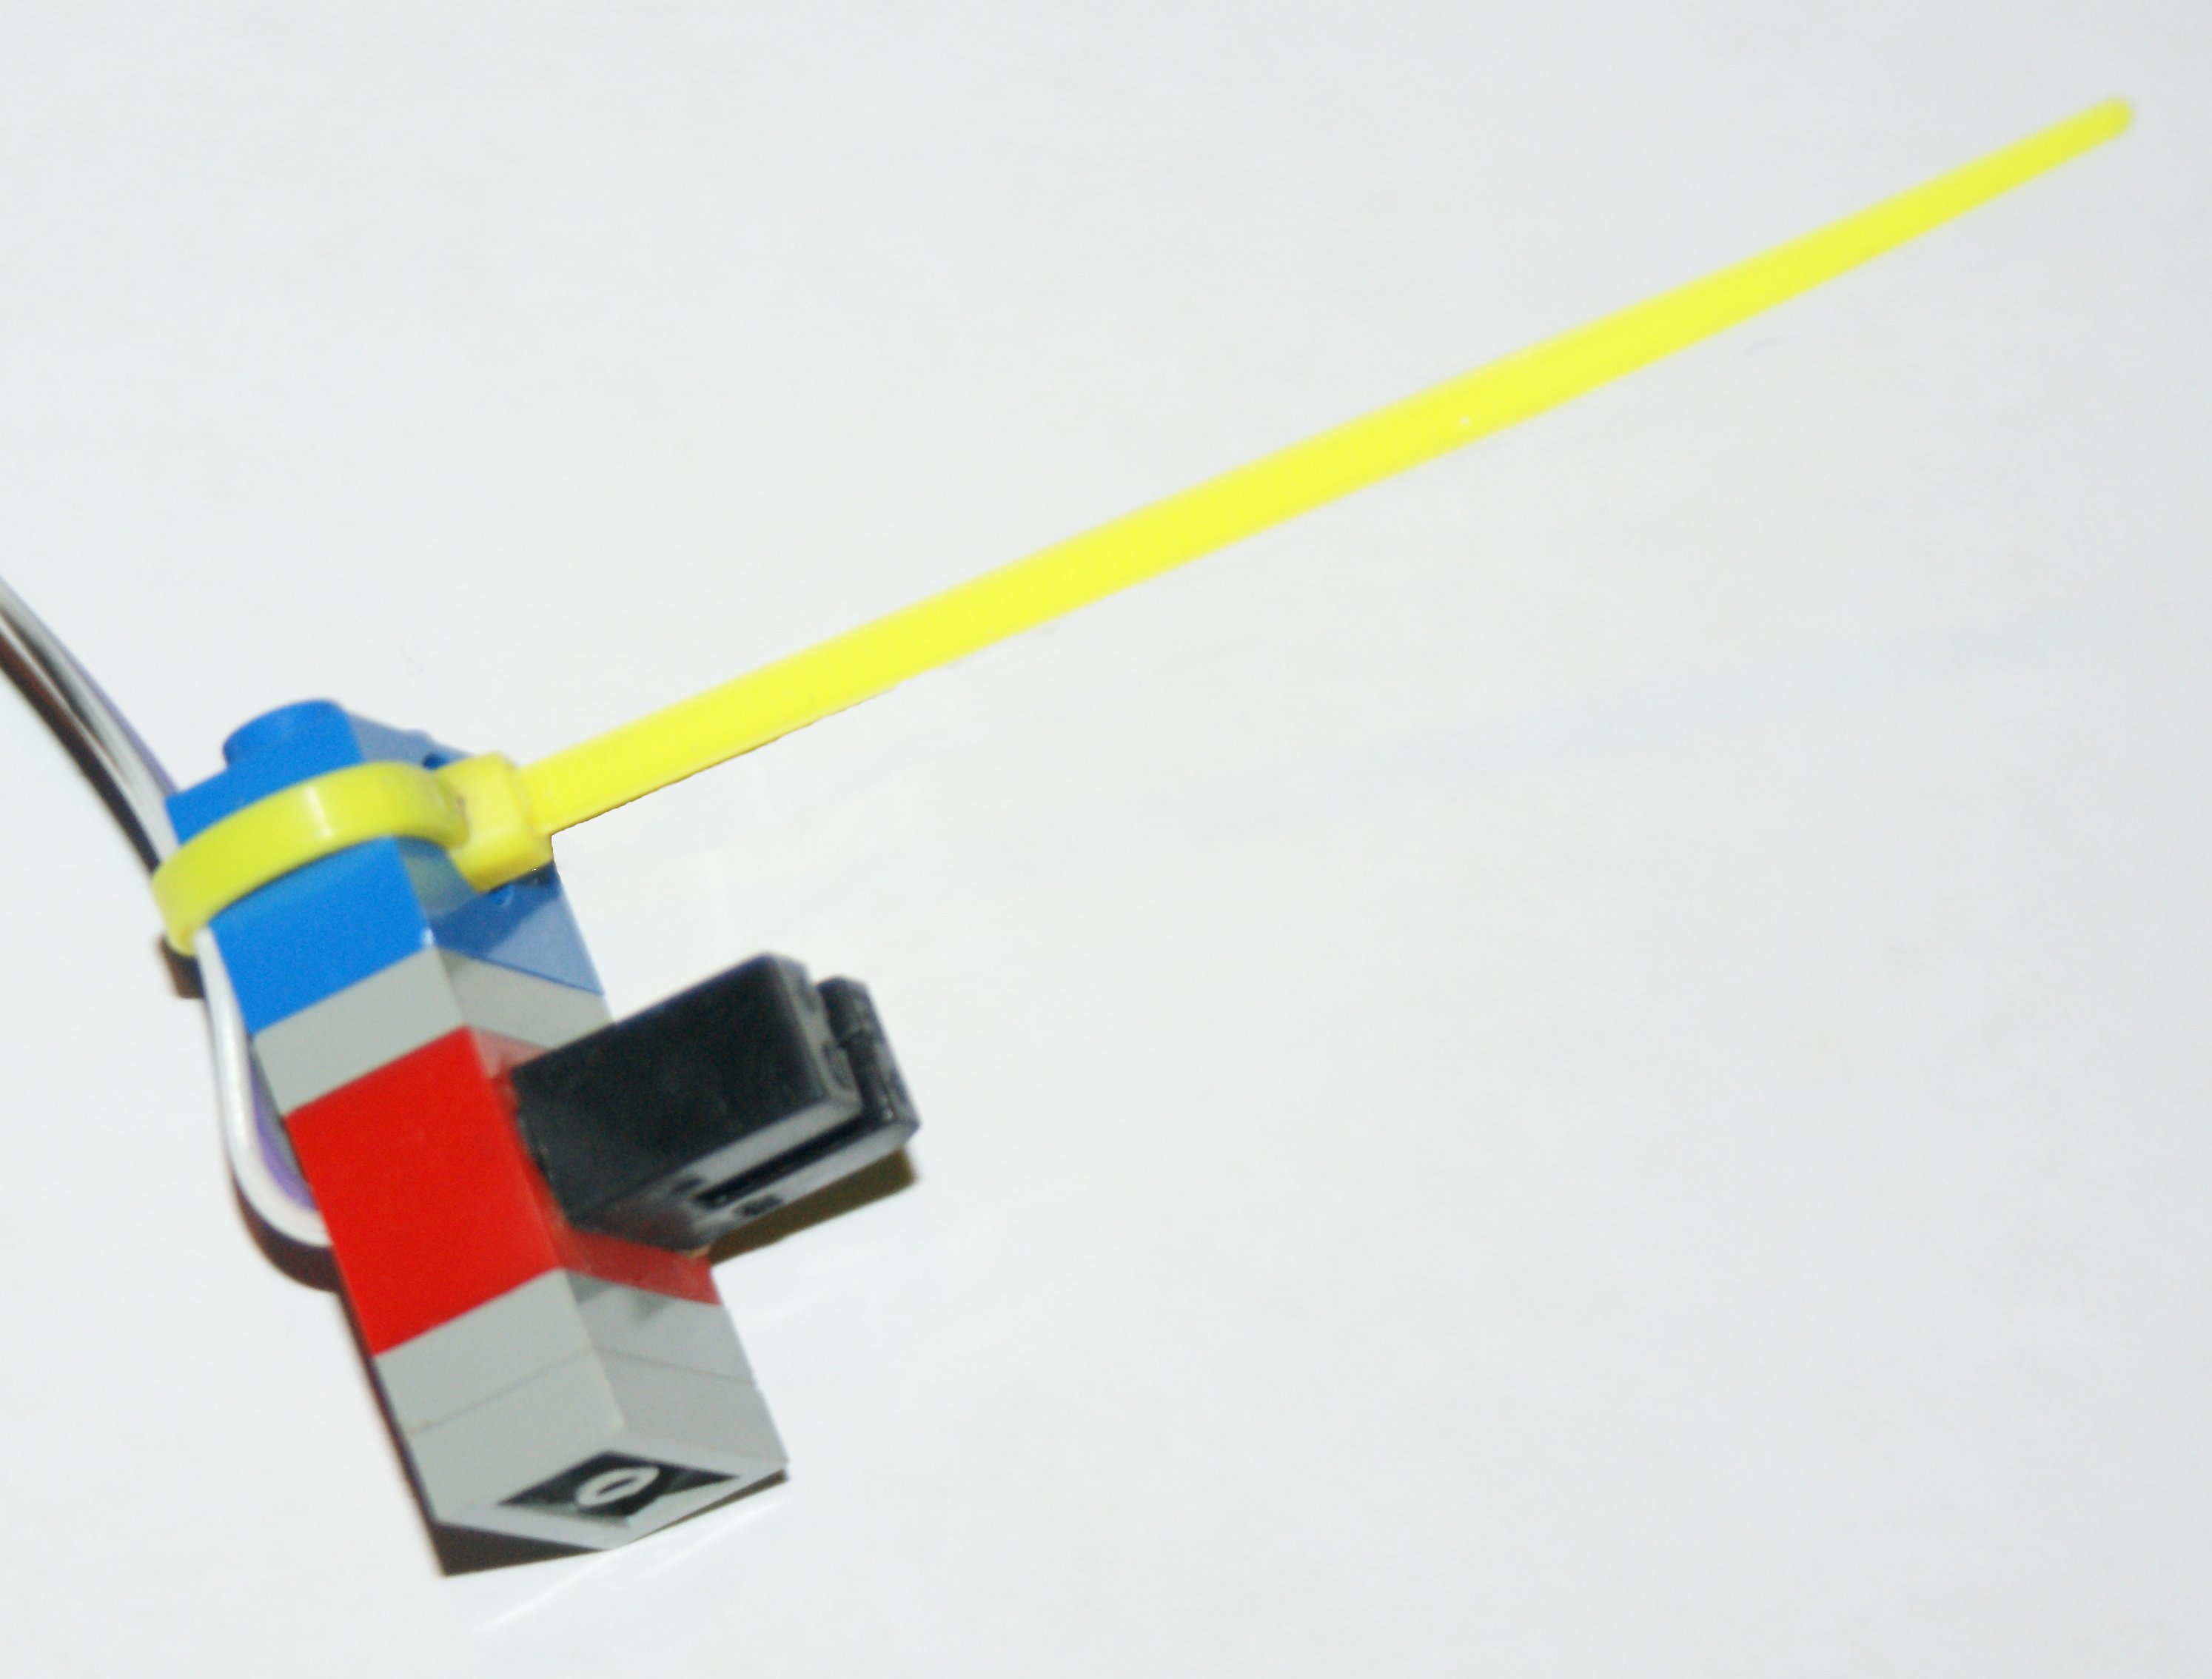
The cable tie cannot go over the top of the beam because a Lego plate will, later, be snapped onto the top of the beam. Note the direction in which the tail of the cable tie was routed; away from the wires. This is to make it easier to trim the tail off, as shown in this picture, without damaging the wires.
Note that when cutting cable ties it is important to cut them flush with the head of the cable so as to avoid leaving sharp corners that might injure somebody in the future.
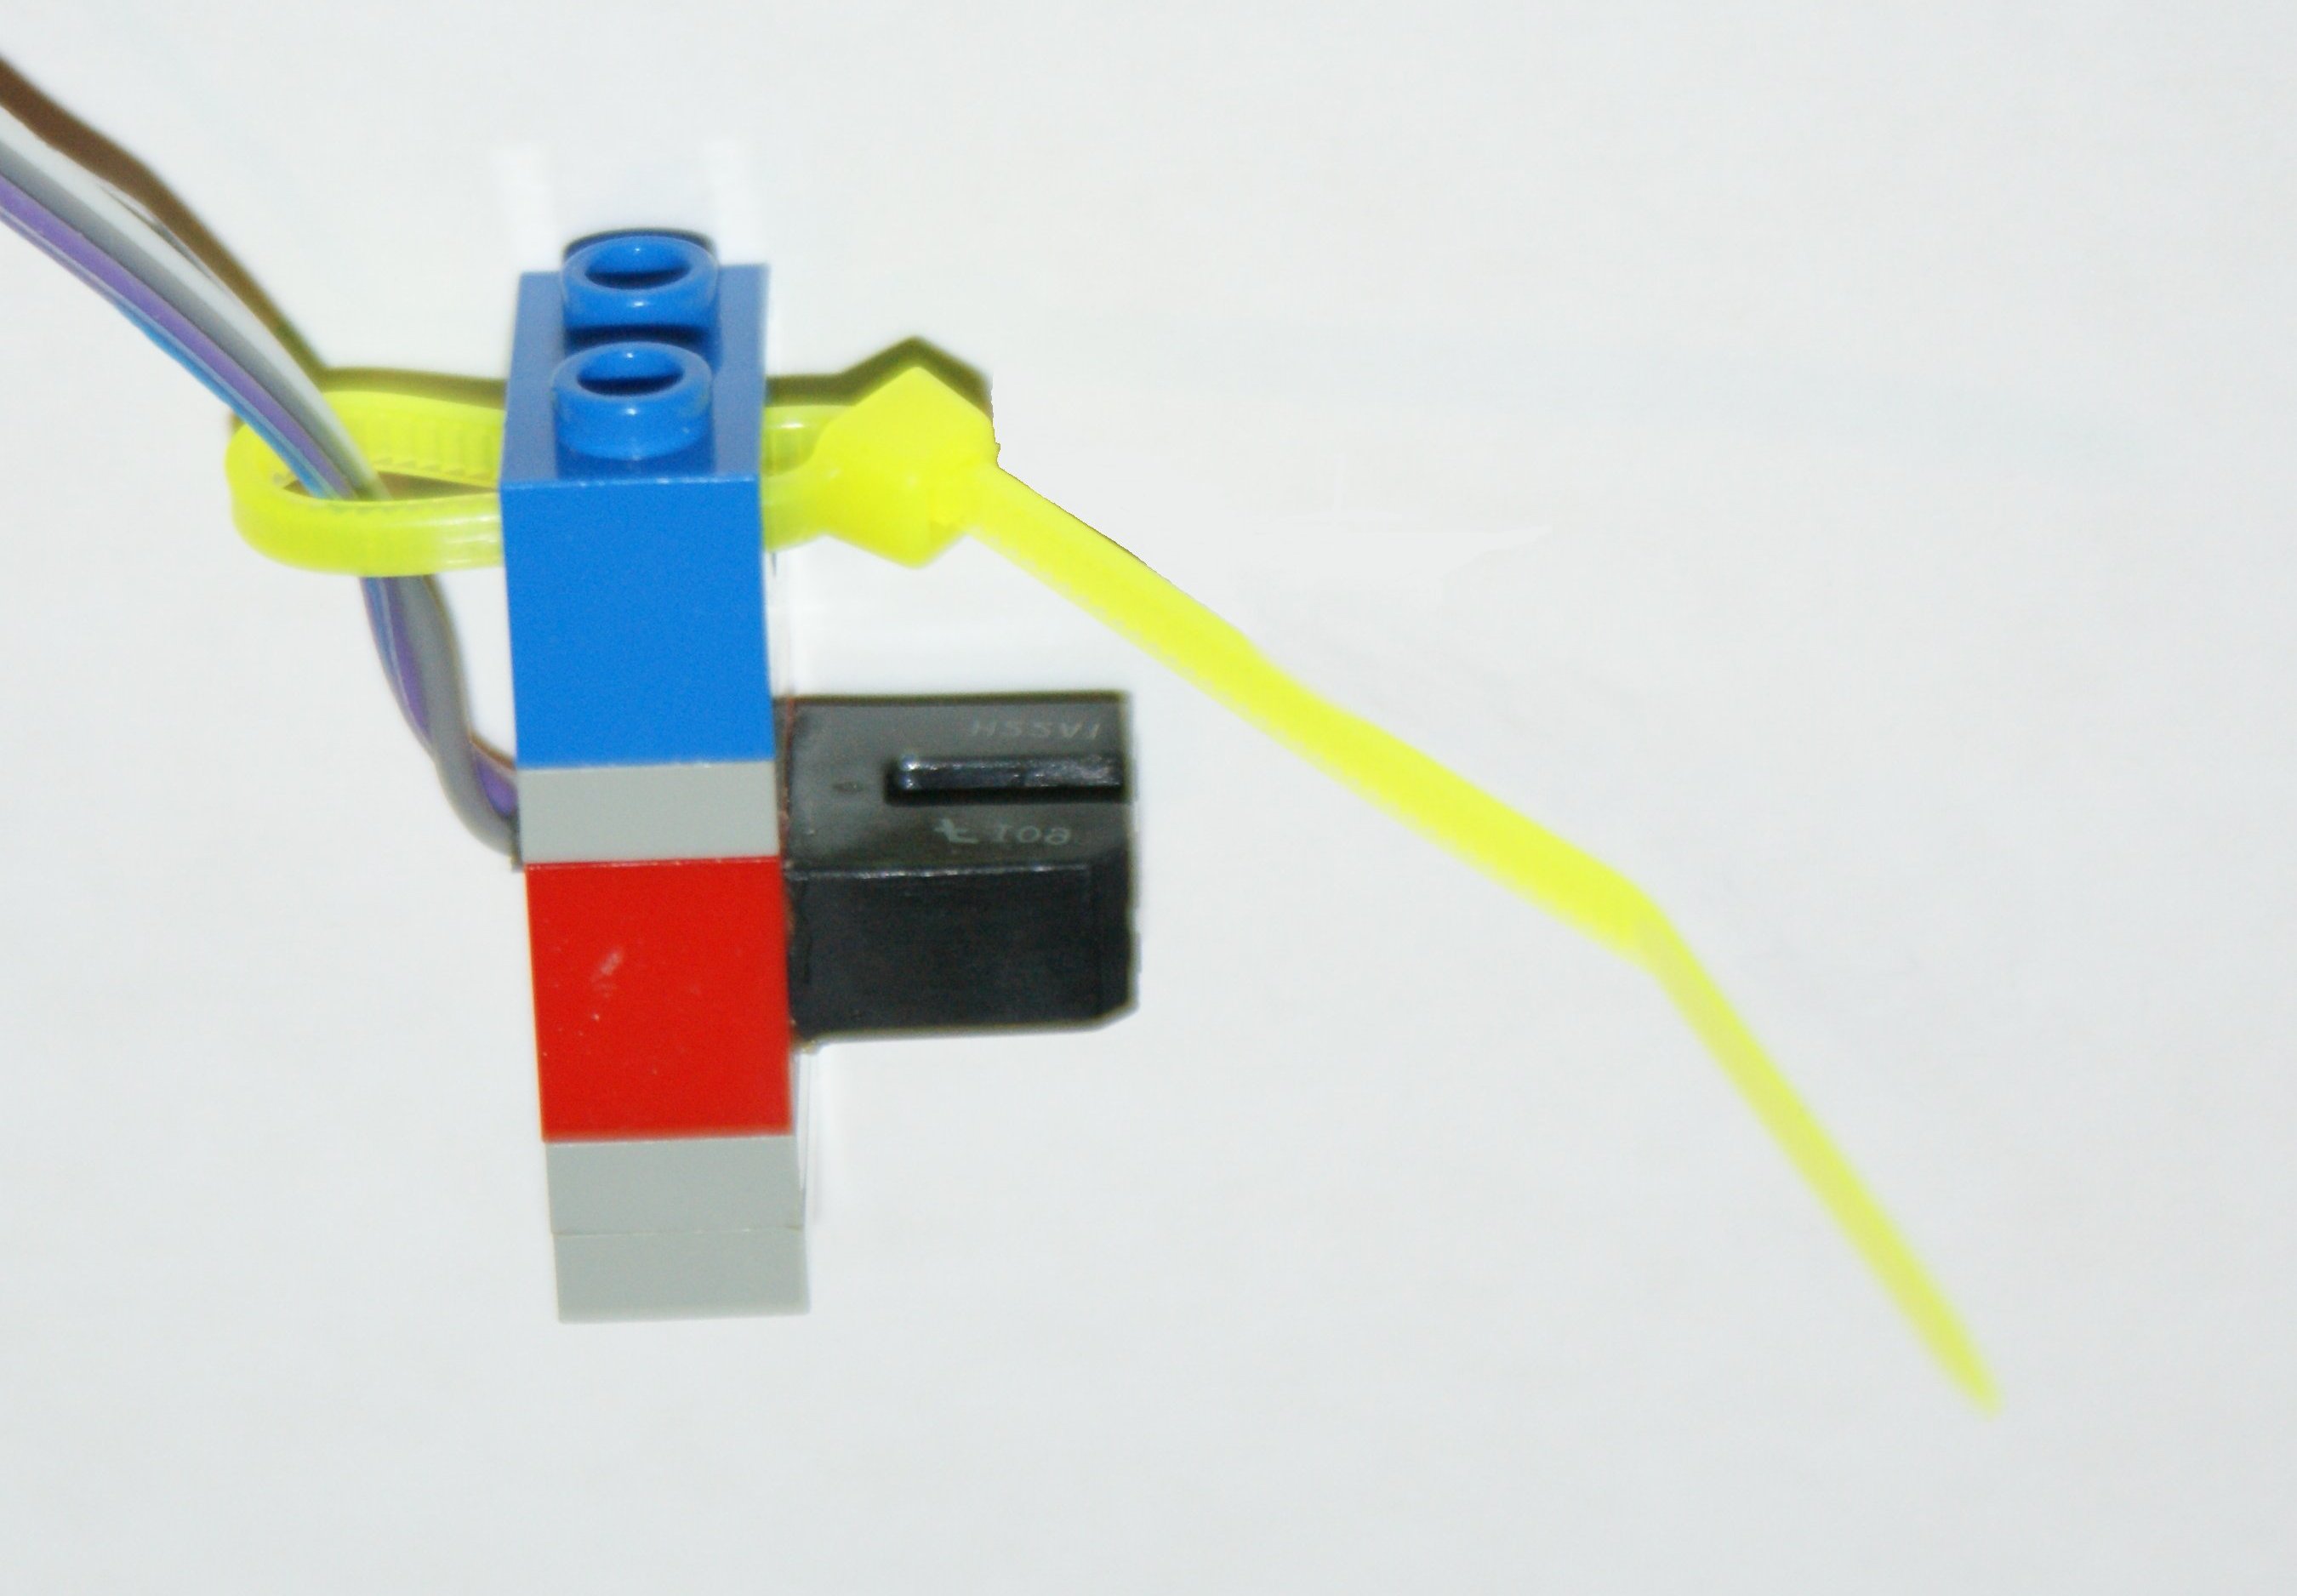
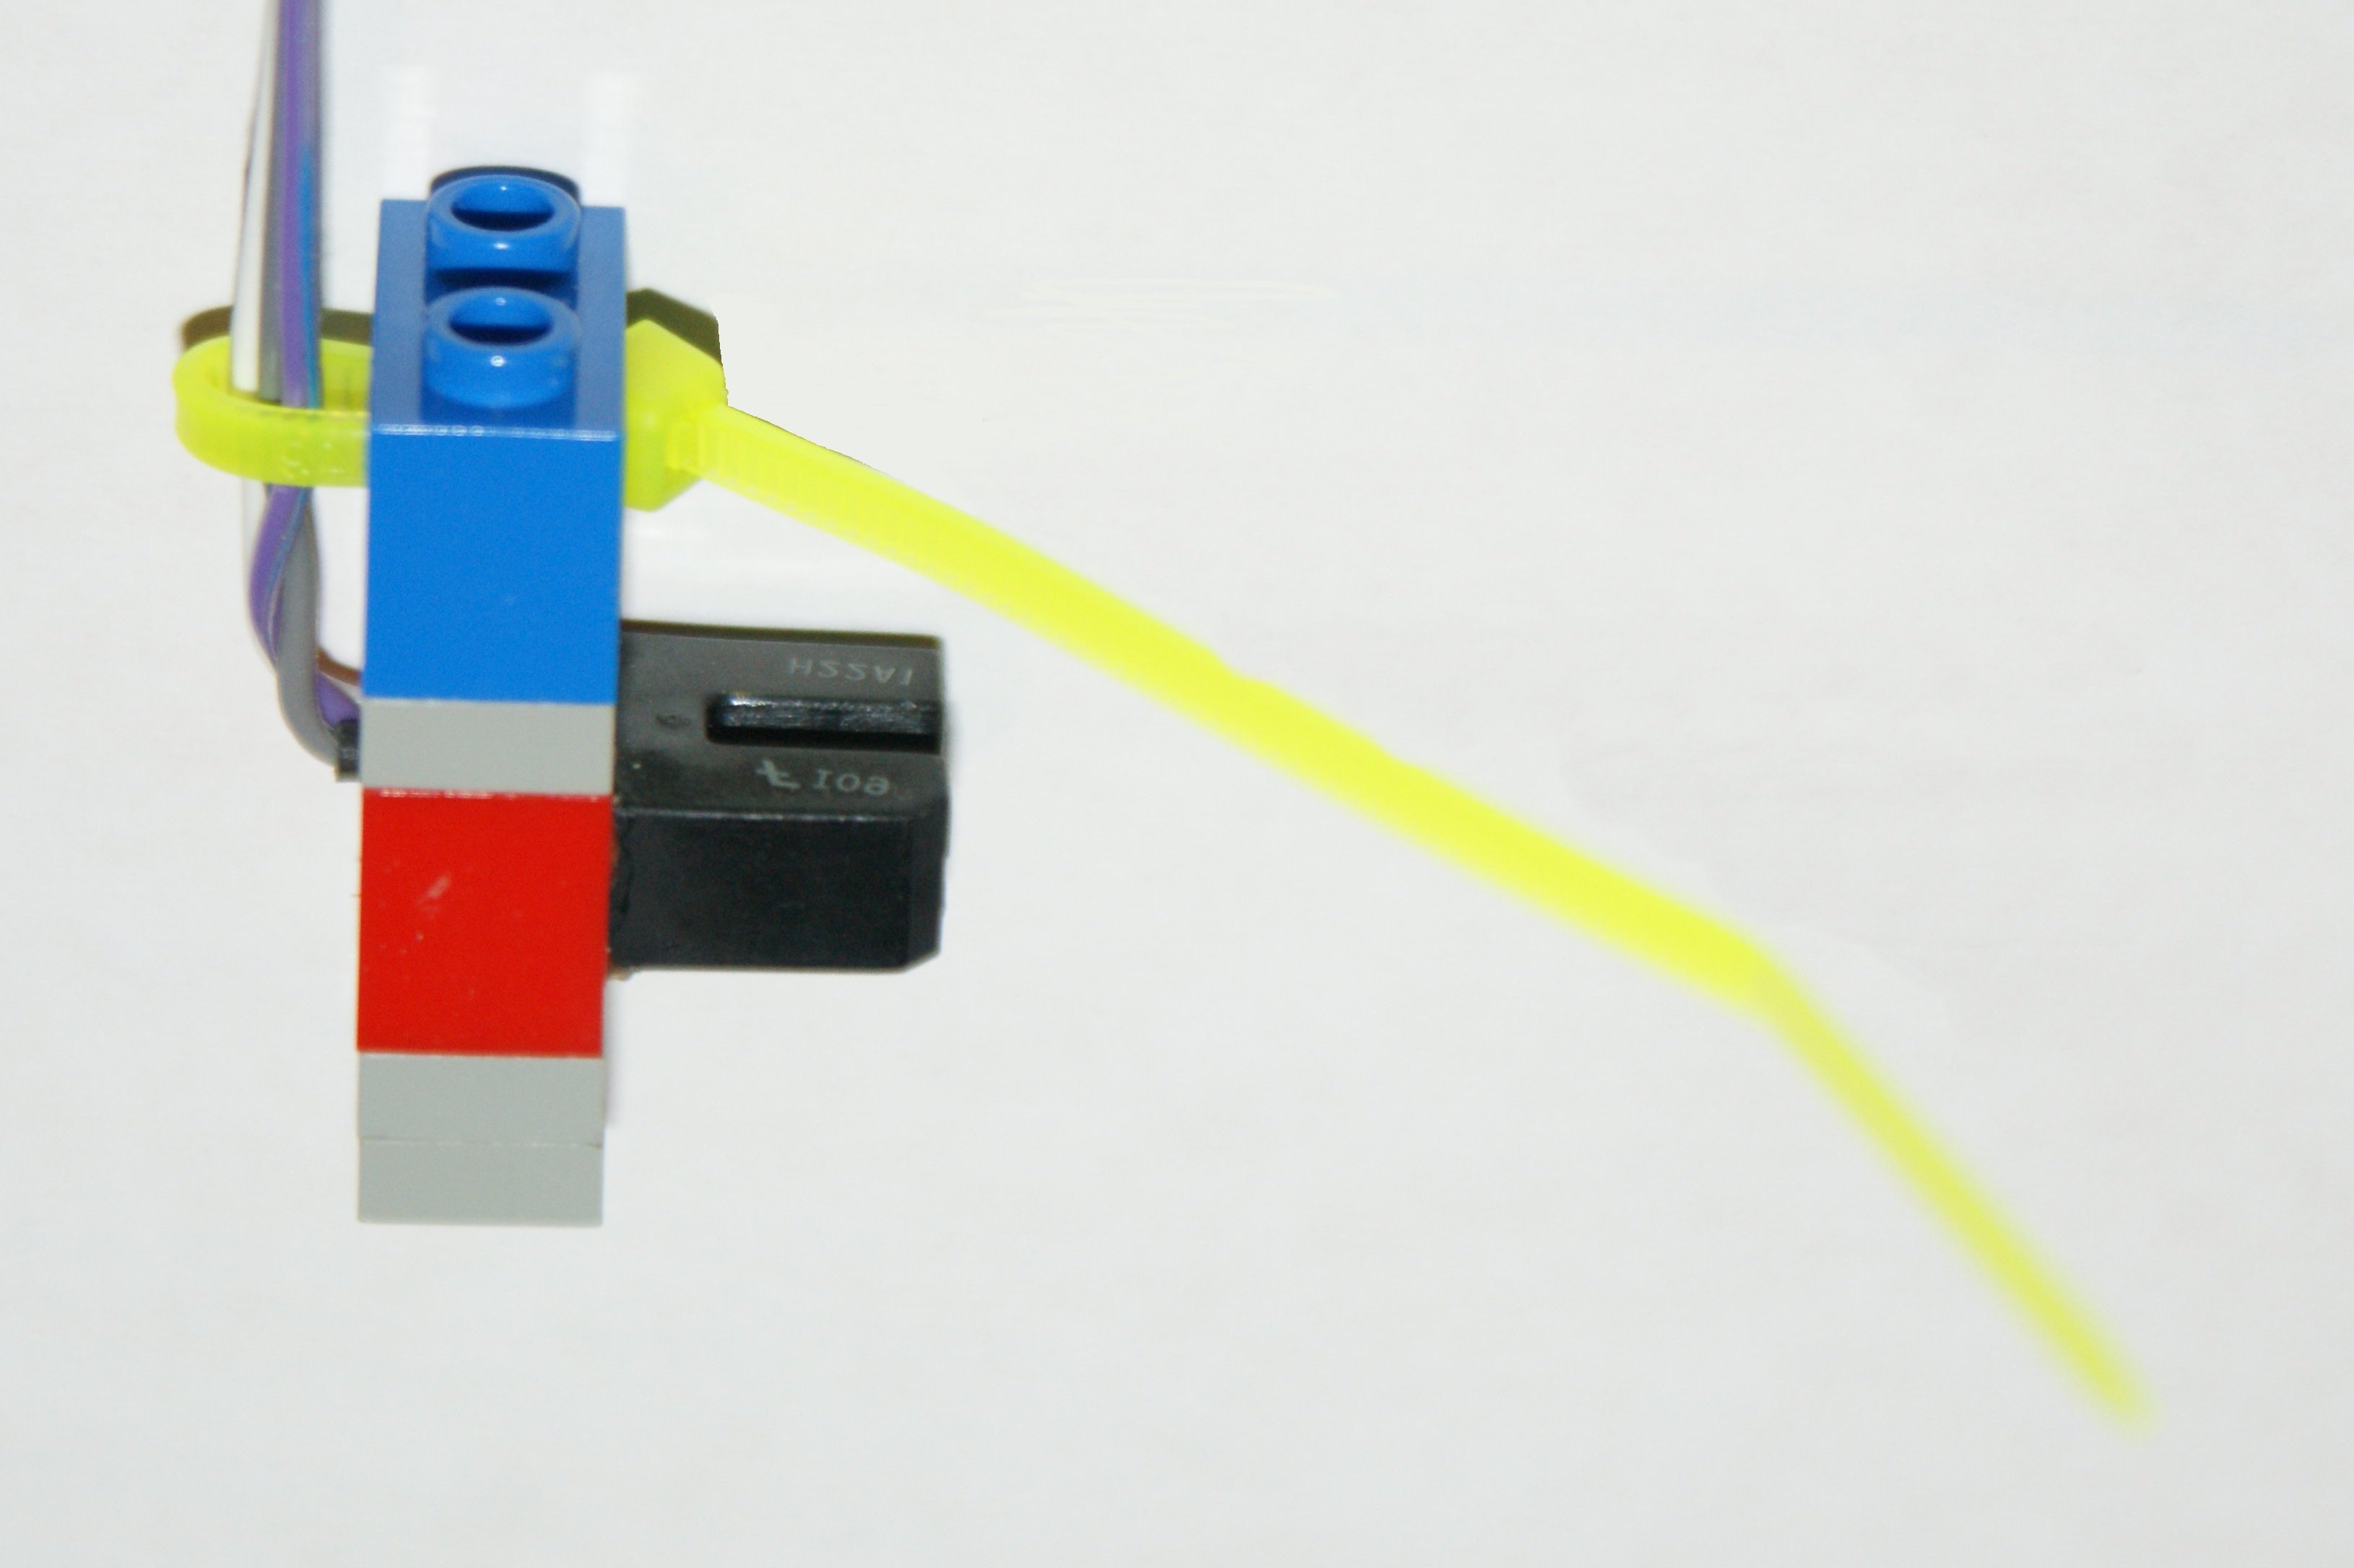
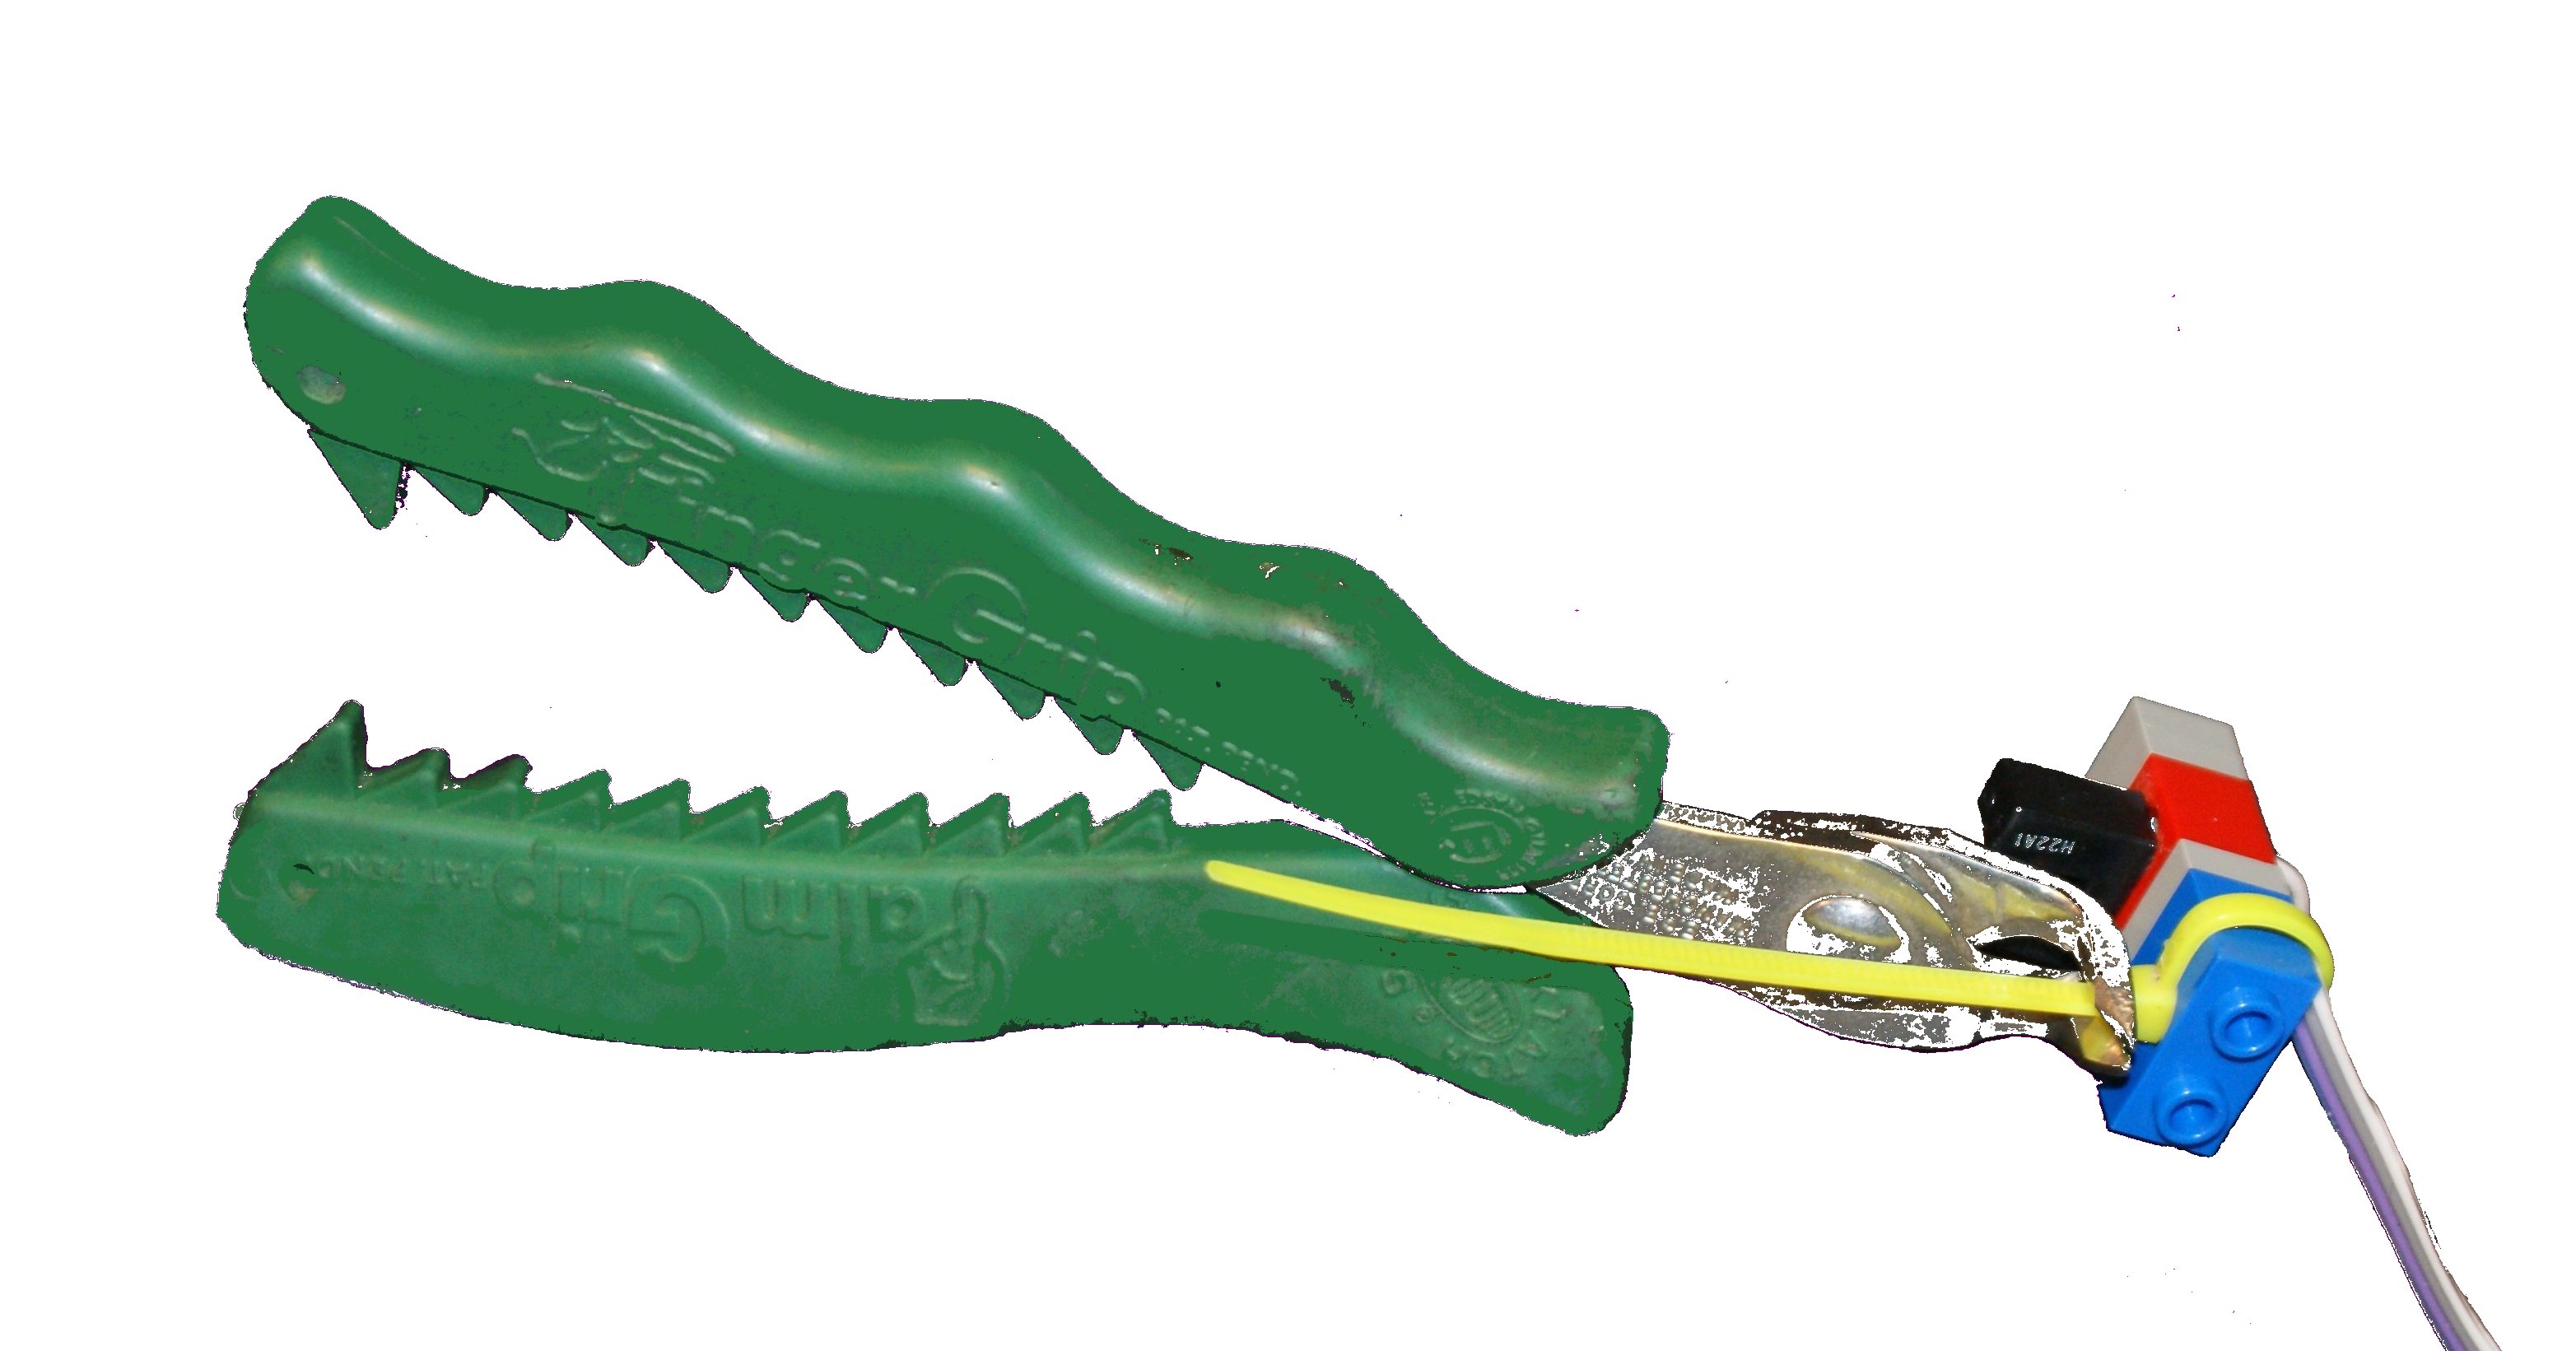 Note the way that cable tie 3 is routed, as shown in these simplified pictures, through the middle of the 1 x 2 beam.
|
|
Cable tie 3 cannot be routed the same was cable tie 4 because cable tie 4's beam is in the way. And it cannot be routed around the other side of its beam because it will conflict with a Lego plate that is to be installed later. Thus the only remaining option is to route the cable tie through the hole, round the wires, and back through the hole.
While the "through the hole" technique produces a very neat, clean, and tidy result, it takes much longer to perform than does the "around the beam" technique.
In being routed below (or above) a beam, cable ties 1 and 2 may present difficulties because, later, beams may be snapped to the bottom (or top) of the beam. In this eventuality, the cable tie would have to be routed through adjacent holes, which, while perfectly acceptable, is quite difficult and time consuming to do.
It is obviously important that all four cable ties be sufficiently tight to accomplish their purpose; but it is vital, because of a strange physical property of plastic call "plastic flow", that they not be too tight.
Plastic flow is a property of most plastics in which plastic that is under pressure will, very slowly, tend to move, or flow, away from the point of pressure.
In the case of these cable ties and wires, in the very long term, the effect of plastic flow is to cause the plastic insulation to move away from the point of pressure thus exposing the metal wires within. These wires may then short together causing damage and, possibly, fire.
The shorted wires will cause the sensor to stop working and, if the robot's software is not sufficiently well written, may result in the loss of control of the robot resulting in what is known as a LOCA, or Loss Of Control Accident.
It is possible to write software that detects that one one or more motors have been powered on but no data is being received from the sensors. This condition is termed "out of correspondance" and well written software would detect it and initiate an emergency stop, or E-Stop.
Note that the above suggestions for the use of cable ties are just that: suggestions. So long as they protect the wires, you may use cable ties differently if you wish.